Taking Laravel Nova to the next level with Typescript and Vue
A couple months ago, as I was working on a custom Laravel Nova component, a question came into my mind: How annoying would it be to try and port this component to use Typescript.
TLDR; It’s really straightforward, and is worth it !
I am big on static-analysis-friendly code, and Typescript is truly a life savior when it comes to dealing with Javascript based projects. How many times would I go about using console.log() to figure out what kind of object I’m dealing with or the properties it holds, it is really a time sink.
We can go on and on about the benefits of having a strongly typed codebase, however, what we will be looking at today is how we can achieve this in our Laravel Nova custom component.
We will focus on custom Tools, but this is applicable for all the custom components that you may create for Nova (Field, Card etc)
Let’s get started !
Setting up Laravel Mix and Typescript
Given that we will be looking at Tools in this article, running this command should get you started, given you’re familiar with the whole process of creating custom tools.
If not, I strongly recommend you read Nova’s documentation related to custom tools.
1php artisan nova:tool oneduo/my-custom-toolLaravel Mix comes with built-in support for Typescript, and strips away all the complexity of setting up compilers, bundlers or other wicked things.
Once your tool is created and all of its dependencies installed, you need to rename the entry point Javascript file. This file is the main Javascript file that defines our custom tool, we need to change its extension to be a Typescript file.
1mv resources/js/tool.js resources/js/tool.tsAfter that, we can inform Mix that our entry point is a Typescript from now on.
1let mix = require("laravel-mix") 2 3require("./nova.mix") 4 5mix 6 .setPublicPath("dist") 7 .js("resources/js/tool.js", "js") 8 .ts("resources/js/tool.ts", "js") 9 .vue({ version: 3 })10 .css("resources/css/tool.css", "css")11 .nova("oneduo/my-custom-tool")That’s it !
You may now run the following command in your Tool’s path:
1npm run devRunning this command will prompt you with the following notice:
Additional dependencies must be installed. This will only take a moment. Running: npm install ts-loader typescript –save-dev –legacy-peer-deps
Finished. Please run Mix again.
This should take care of the necessary dependencies. Once it’s finished, you may run the same command another time.
This step is now complete, we can now move on to the next step.
Adjusting Vue components, shims and Nova global object
Moving our codebase to Typescript requires us to specify the file’s extension on every Vue component import.
In our tool.js we have to make the following adjustment:
1import Tool from './pages/Tool' 2import Tool from './pages/Tool.vue'Since Nova does not provide any built-in Typescript support, Mix and your IDE are going to complain about not knowing what Nova is in at these lines:
1Nova.booting((app, store) => {2 Nova.inertia("MyCustomTool", Tool)3})And they will be having trouble picking up .vue files. There is a neat trick to fix this, defining a shim.
Go ahead and add a shims.d.ts file at the root of the Tool’s path:
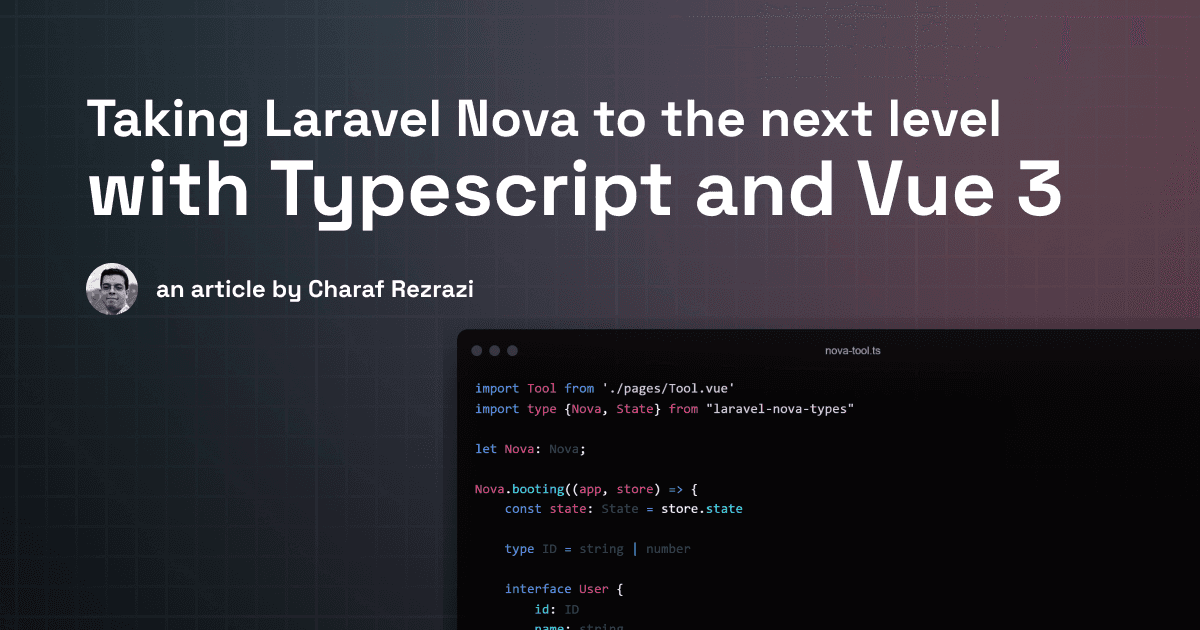
1declare module '*.vue';2declare const Nova: anyNote As Laravel Nova does not provide a fully typed object, I have been collecting details and building the following type definition https://github.com/oneduo/laravel-nova-types
One last step, is installing types and adding a tsconfig.json file at the root level of our component, you can customize it to your liking, here’s a good starting point:
1npm i -D vue # provides Vue typings2npm i -D vuex # provides Vuex typings1{ 2 "compilerOptions": {3 "module": "commonjs", 4 "target": "es5", 5 "noImplicitAny": true, 6 "sourceMap": true 7 }8}Et voilà ! You are good to go.
Field testing our setup
We can now start using Typescript in our Vue components, this can be done by adding lang to the script tag:
1<script lang="ts" setup></script>For this example, we will be using Vue’s Compositions API, as it is more intuitive to be used with Typescript.
If you are planning on using Options API, I strongly recommend checking out Vue’s documentation for a detailed guide on how to get started with Typescript.
Now that we are ready, we can try out the following snippet:
1<script lang="ts" setup> 2 import { onMounted } from "vue" 3 4 interface Burger { 5 steaks: number 6 hasCheese: boolean 7 size: "Small" | "Medium" | "Big" | "Deathwish" 8 withFries: boolean 9 }10 11 const cheeseBurger: Burger = {12 steaks: 2,13 hasCheese: true,14 size: "Small",15 withFries: false,16 }17 18 onMounted(() => console.log(cheeseBurger))19</script>